
Note: This Page is nothing about the Movie Paranormal Activity or about the Paranormal nor about Paranormal Phenomena.
To understand Panoramic it is best you read about it on the wiki Linkylinklink,
"An image showing a field of view approximating, or greater than, that of the human eye – about 160° by 75° – may be termed panoramic. This generally means it has an aspect ratio of 2:1 or larger, the image being at least twice as wide as it is high. The resulting images take the form of a wide strip. Some panoramic images have aspect ratios of 4:1 and sometimes 10:1, covering fields of view of up to 360 degrees. Both the aspect ratio and coverage of field are important factors in defining a true panoramic image."
A panorama can be defined as a wide-angled view of any space, field or structure. A panorama is usually made from several photographs/screenshots that are merged together to create a picture/image.


Now merge all your screenshots together using Adobe Photoshop.

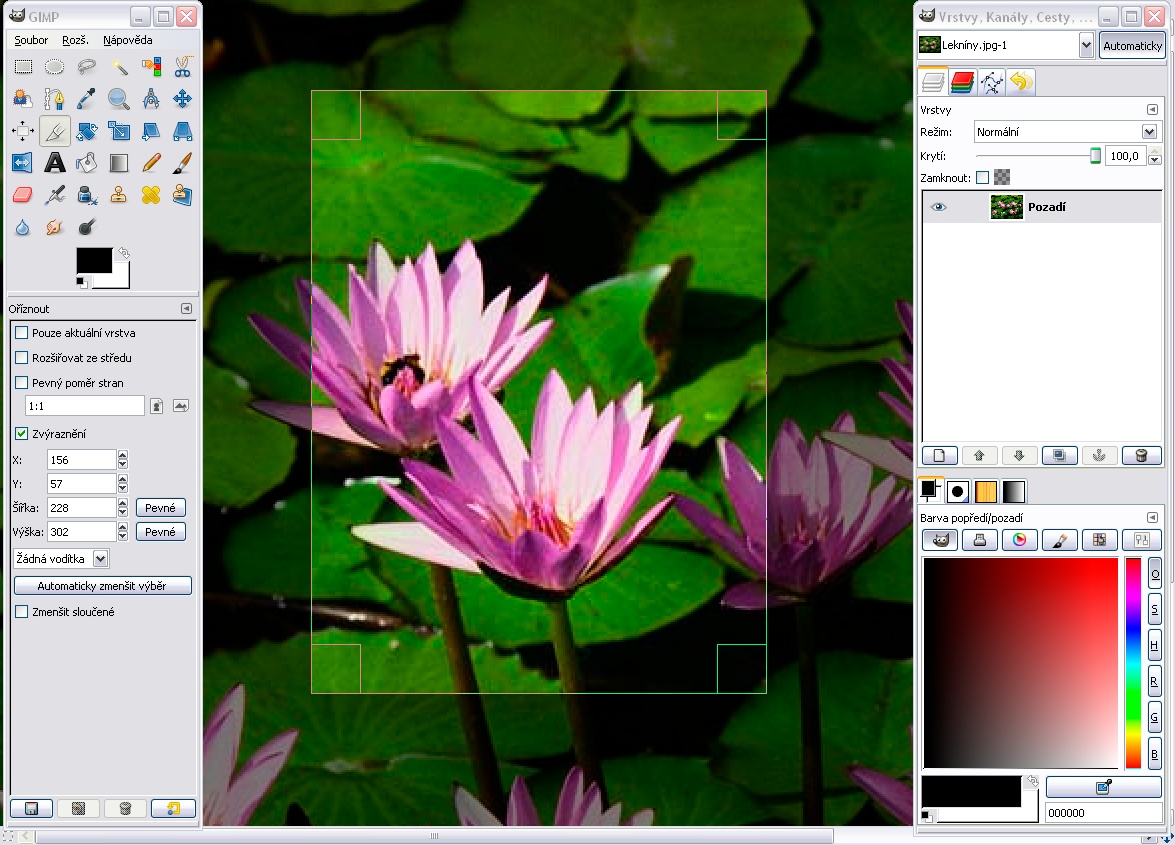
The GNU Image Manipulation Program - GIMP

 As the name explains GIMP is a free way to manipulate/edit images. GIMP it self doesn't have a builtin photomerge option, you can however download plug-ins to do the magic for you.
click here to download
tutorials
documentation
Stitch Panorama: a GIMP Plug-in
Stich Panorama is a plug-in for the GNU Image Manipulation Program (GIMP) which takes digital images and overlays one atop the other to make a panorama.
click here to download
documentation and tutorial (PDF)
examples
Pandora: a GIMP Plugin for Making Panoramas
 Pandora is a GIMP script which helps in stitching together multiple images to
make a panorama.
Pandora is a GIMP script which helps in stitching together multiple images to
make a panorama.
click here to download
tutorial
phfluuh is a software package consisting of two gimp plugins (lineup and enfish) which allows you to make panorama images without too much trouble.
click here to download
documentation and tutorial
examples
Hugin - Panorama photo stitcher
 Hugin gives you an easy to use cross-platform panoramic imaging toolchain based on Panorama Tools. With Hugin you can assemble a mosaic of photographs into a complete immersive panorama, stitch any series of overlapping pictures and much more.
click here to download
documentation
tutorials
To understand Panoramic it is best you read about it on the wiki Linkylinklink,
"An image showing a field of view approximating, or greater than, that of the human eye – about 160° by 75° – may be termed panoramic. This generally means it has an aspect ratio of 2:1 or larger, the image being at least twice as wide as it is high. The resulting images take the form of a wide strip. Some panoramic images have aspect ratios of 4:1 and sometimes 10:1, covering fields of view of up to 360 degrees. Both the aspect ratio and coverage of field are important factors in defining a true panoramic image."
A panorama can be defined as a wide-angled view of any space, field or structure. A panorama is usually made from several photographs/screenshots that are merged together to create a picture/image.

Robin's The Great Hall (Inside Panoramic View)
Follow the steps below to create an panoramic image of any structure in Minecraft.
- Set the screen resolution. It is best to set your Monitor/LCD screen resolution to as high as you can, to get the best quality screenshots for your panoramic view.
- Set Minecraft to fullscreen mode. press F11 to toggle fullscreen mode. you can use ALT+TAB to switch out of Minecraft AND switch it back to windowed mode.
- Stand still and mark where you will be standing. mark with any block type. it is best to place another block directly behind you so that you can't move back.
- Start from the extreme left side of what you want to capture. move and adjust your view by moving the crosshair with the mouse only, keep the crosshair at an specific height.
- Take a few screenshots by pressing F2. Press F1 to toggle the Heads Up Display (hide the crosshair, inventory etc.), check the screenshots if you are satisfied with it then move on. if not goto step one. The screenshots are saved ino %appdata%\.minecraft\screenshots on Windowso ~/Library/Application Support/minecraft/screenshots in OS Xo ~/.minecraft/screenshots in Linux.
- Choose a reference point, move the crosshair from left to right. Press F1 to toggle the crosshair, Choose a reference point a tree or a specific block the reference point should be in the previous screenshot, Move the crosshair from left to right keeping atleast 20% to 30% of the view that you have already taken a screenshot of, we need the images to overlap, do not move your cursor in the vertical (i.e. up or down) direction. If you don’t overlap enough, as Adobe Photoshop’s Photomerge tries to blend and merge the shots it wont be able to blend them well, resulting in a messy image. take a few screenshots.
- Follow the above step as many times as you'll need to capture the whole structure.

Alien's Temple (Inside Panoramic View)
- Open all the screenshots that you wish to add to your Panorama in Photoshop.
- In Photoshop go to File > Automate > Photomerge
- In the dialog that appears choose Auto and then click the “Add Open Files” button
- Check the filename numbers of the photos that are added, The images in the list should be in correct order, meaning the extreme left screenshot or our first screenshot should be listed on top then the next screenshot you took and so on, till the extreme right or final screenshot at the bottom of the list.
- Click Ok to start the photomerge process. if you followed the steps correctly you should have a panoromic view of your structure by now.
- Crop and adjust as you need and save it.

This panorama is made by RobinR using with hugin, Eight of these photos were merged into one to make this big panorama. the location is Telemark, Vrådal, Norway.

 |
 |
 |
 |
 |
 |
 |
 |
 As the name explains GIMP is a free way to manipulate/edit images. GIMP it self doesn't have a builtin photomerge option, you can however download plug-ins to do the magic for you.
click here to download
tutorials
documentation
Stitch Panorama: a GIMP Plug-in
Stich Panorama is a plug-in for the GNU Image Manipulation Program (GIMP) which takes digital images and overlays one atop the other to make a panorama.
click here to download
documentation and tutorial (PDF)
examples
Pandora: a GIMP Plugin for Making Panoramas
 Pandora is a GIMP script which helps in stitching together multiple images to
make a panorama.
Pandora is a GIMP script which helps in stitching together multiple images to
make a panorama.click here to download
tutorial
phfluuh is a software package consisting of two gimp plugins (lineup and enfish) which allows you to make panorama images without too much trouble.
click here to download
documentation and tutorial
examples
Hugin - Panorama photo stitcher
 Hugin gives you an easy to use cross-platform panoramic imaging toolchain based on Panorama Tools. With Hugin you can assemble a mosaic of photographs into a complete immersive panorama, stitch any series of overlapping pictures and much more.
click here to download
documentation
tutorials
No comments:
Post a Comment